Because our polish is different from traditional polish, it needs to be applied differently as well. If you've had any problem with our polish not lasting, peeling, or streaking, you may be applying too much gel polish, not prepping your nails properly, or simply not applying it correctly. Whatever the case, we're here to help.
🥳 FREE SHIPPING when you spend $75 or more
Applying Your Gel

🖤COMMON QUESTIONS🖤
1.) Why is my polish peeling?
Two things here. You may have applied a heavy coat and/ or you may not have prepped your nails properly. To prevent peeling, start your process with proper prep (as seen below) and with an extremely thin coat. The thin coat allows the polish to adhere to the nail better.
2.) Why is my polish chipping?
Everybody's nails are super different when it comes to the moisture they hold. This effects the gel's adhesion. Our polish does have a base coat formulated into the polish, but proper prepping is necessary for long lasting results. If you're finding that your nails are chipping pretty quickly, we suggest 1.) prepping properly (removing the shine & dehydrating the nail) 2.) applying a thin first coat by covering the entire nail and free edge, coating the top nail edges. 3.) Avoid soaking nails in water before applying the gel polish.
2.) Why is my polish streaky?
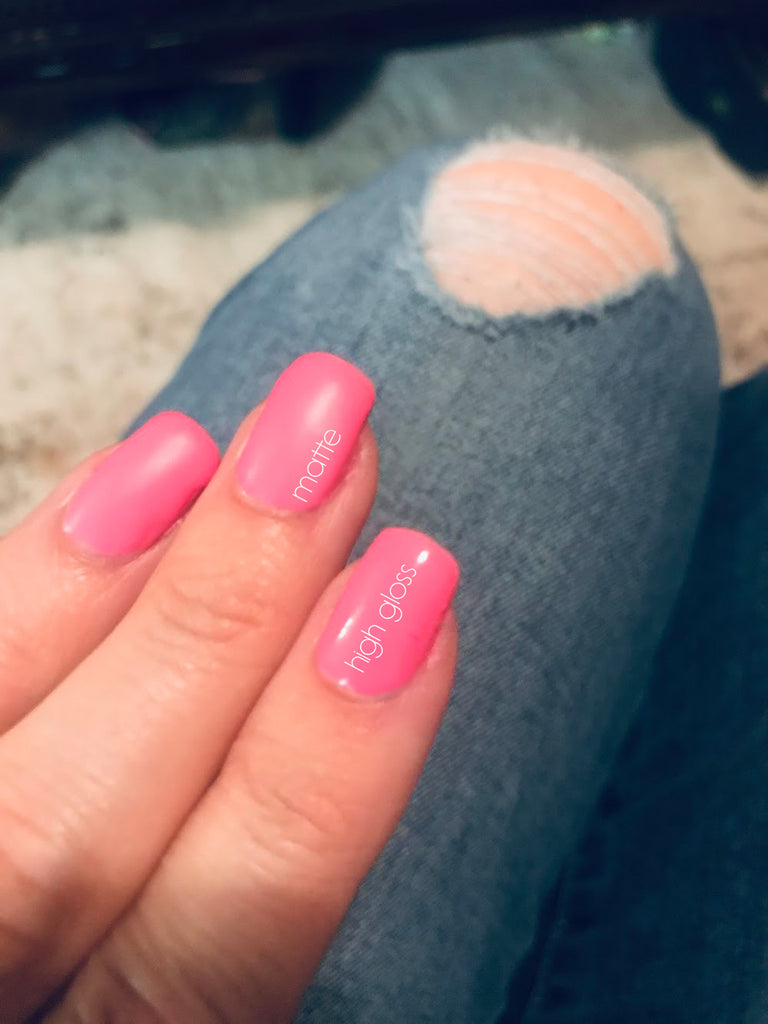
Our polish is different from traditional polish. This means it needs to be applied differently. We list several different techniques that create a smooth application. Which one works for you is dependent on the color you're using and your own personal preference. We have found that the maneuver technique works best for lighter colors while the floating brush technique is great for the more pigmented colors. If you're still having problems with the application, we have found that by applying a top coat on your nail first, you create a smoother surface which allows for better pigment and easier application.
TRADITIONAL BRUSH
Depending on the color you have and your individual skill in regards to painting your nails, this traditional technique may be perfect for you and leave you with stunning results.
How it works:
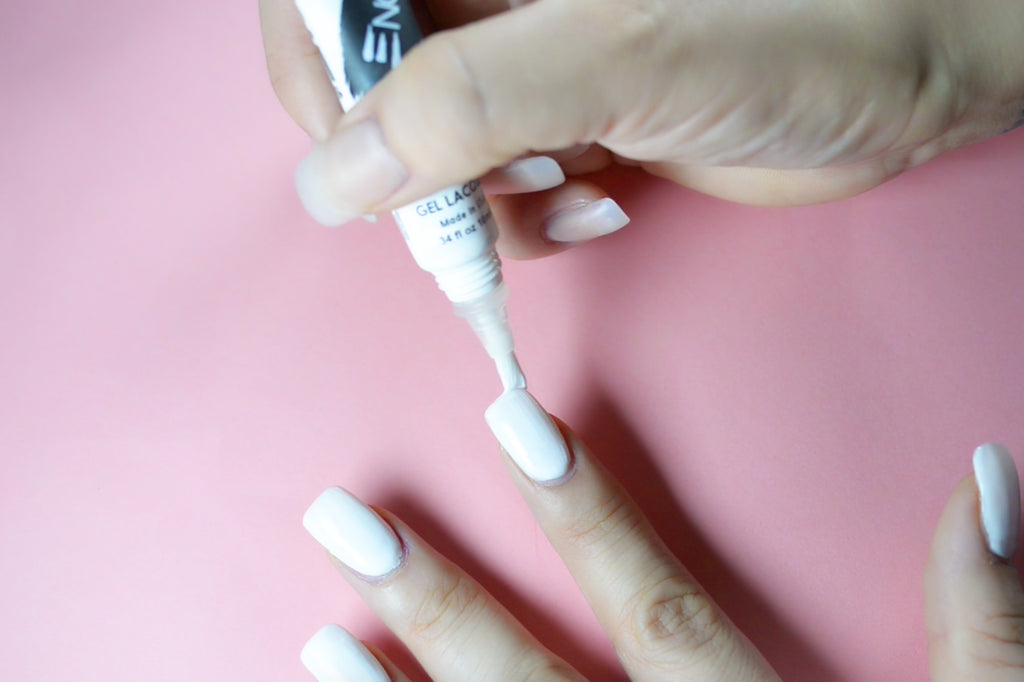
After buffing your nails, gently press the tube to release a small dot of polish on your nail bed near the cuticle. Simply brush the polish starting from the base, upwards towards the left and then again towards the right.
Once the coverage appears even, cure your nails with our cordless nail lamp. Apply additional coats if necessary.
THE FLOATING BRUSH
This particular technique is exceptionally similar to the one above. The only difference between this and the "traditional brush" is that the brushstroke is applied with very little pressure.
How it works:
After buffing your nails, gently press the tube to release a small dot of polish on your nail bed near the cuticle. Instead of pressing down on the nail and stroking the polish upwards from the base to the tip (as you usually would), you're going to take the tip of the brush and with very little pressure brush the polish upwards.
If your application is uneven, allow the gel to settle (you'll find that the formulation bonds with itself rather quickly), or wipe off with a cotton ball and acetone (or alcohol) and begin again.
* The great thing bout gel polish is that it doesn't cure without the UV/LED light.
THE MANEUVER TECHNIQUE
If you've tried both techniques above and are still getting an uneven or streaky finish, this technique is for you. Because our formulation bonds so quickly with itself, you're able to "maneuver" the gel polish around where it's needed.
How it works:
After buffing your nails, gently press the tube to release a small dot of polish on your nail bed near the cuticle. Once the gel has hit the nail, you're going to simply move the polish ( very lightly) with the tip of the brush up and then around the nail. The main difference between this technique and the one above is that instead of "stroking" the nail, you're just pushing the polish where it needs to be.
To fill in any uneven areas or areas needing to be more saturated, simply maneuver the polish backwards ( near the cuticle) with the tip and watch as it bonds together.
Allow the gel to settle (you'll find that the formulation bonds with itself rather quickly) and then cure. If you're unhappy with your application simply wipe off with a cotton ball and acetone (or alcohol) and begin again.
* The great thing about gel polish is that it doesn't cure without the UV/LED light.
GET PERSONALIZED ASSISTANCE
If you still have questions regarding your application, need additional assistance, or just want some cool people to discuss all things with, please do not hesitate to reach out to us by filling the form out below.
Thanks!
This field is required
This field is required
This field is required